Improve UX of your Next.js App in 3 minutes with Page Loading Indicator

Next.js became one of the standards for building a React Apps. Recently I noticed one UX problem common in next.js apps (And generally other SPA apps).
Client-Side navigation is typical for SPA application and it has a bunch of advantages. Next.js provides an easy to use tools like Link component and Router for using client-side navigation. But with all of its advantages, it has one little UX drawback.
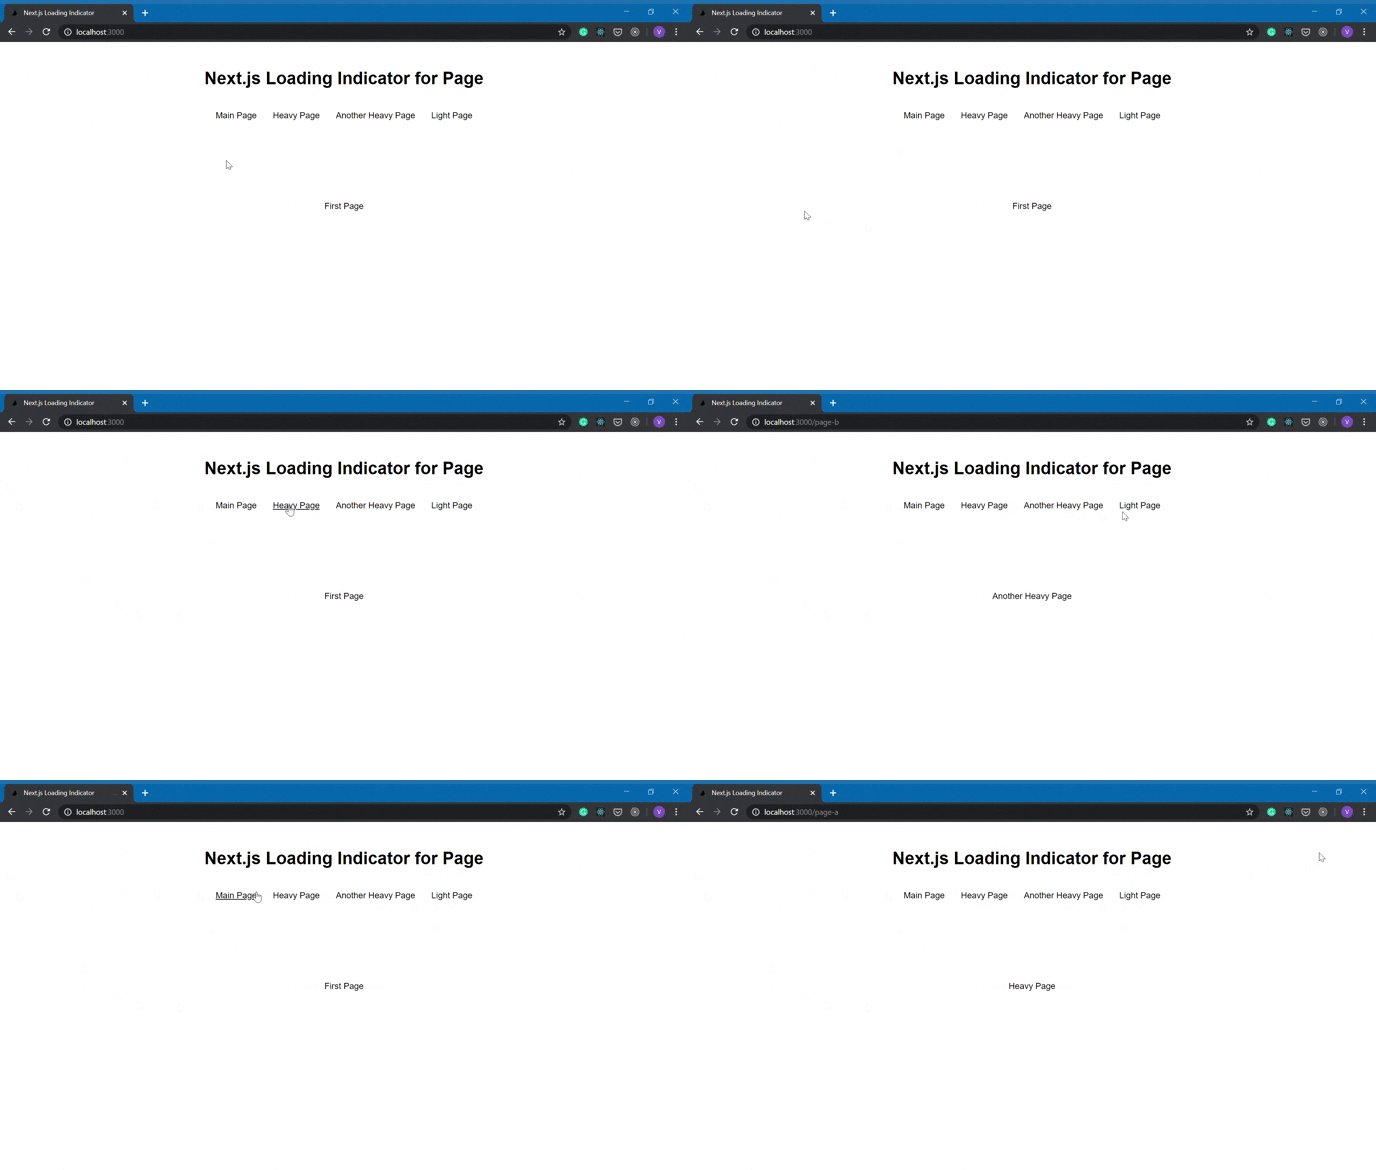
It doesn’t trigger the Browser’s Loading indication, which normally happens in the case of multi-page sites. Without a loading indicator, it can seem like the page is stuck. While the page is just fetching content via JavaScript. This can be quite confusing for the user and negatively impact the site User Experience.
You can see this problem in the example below

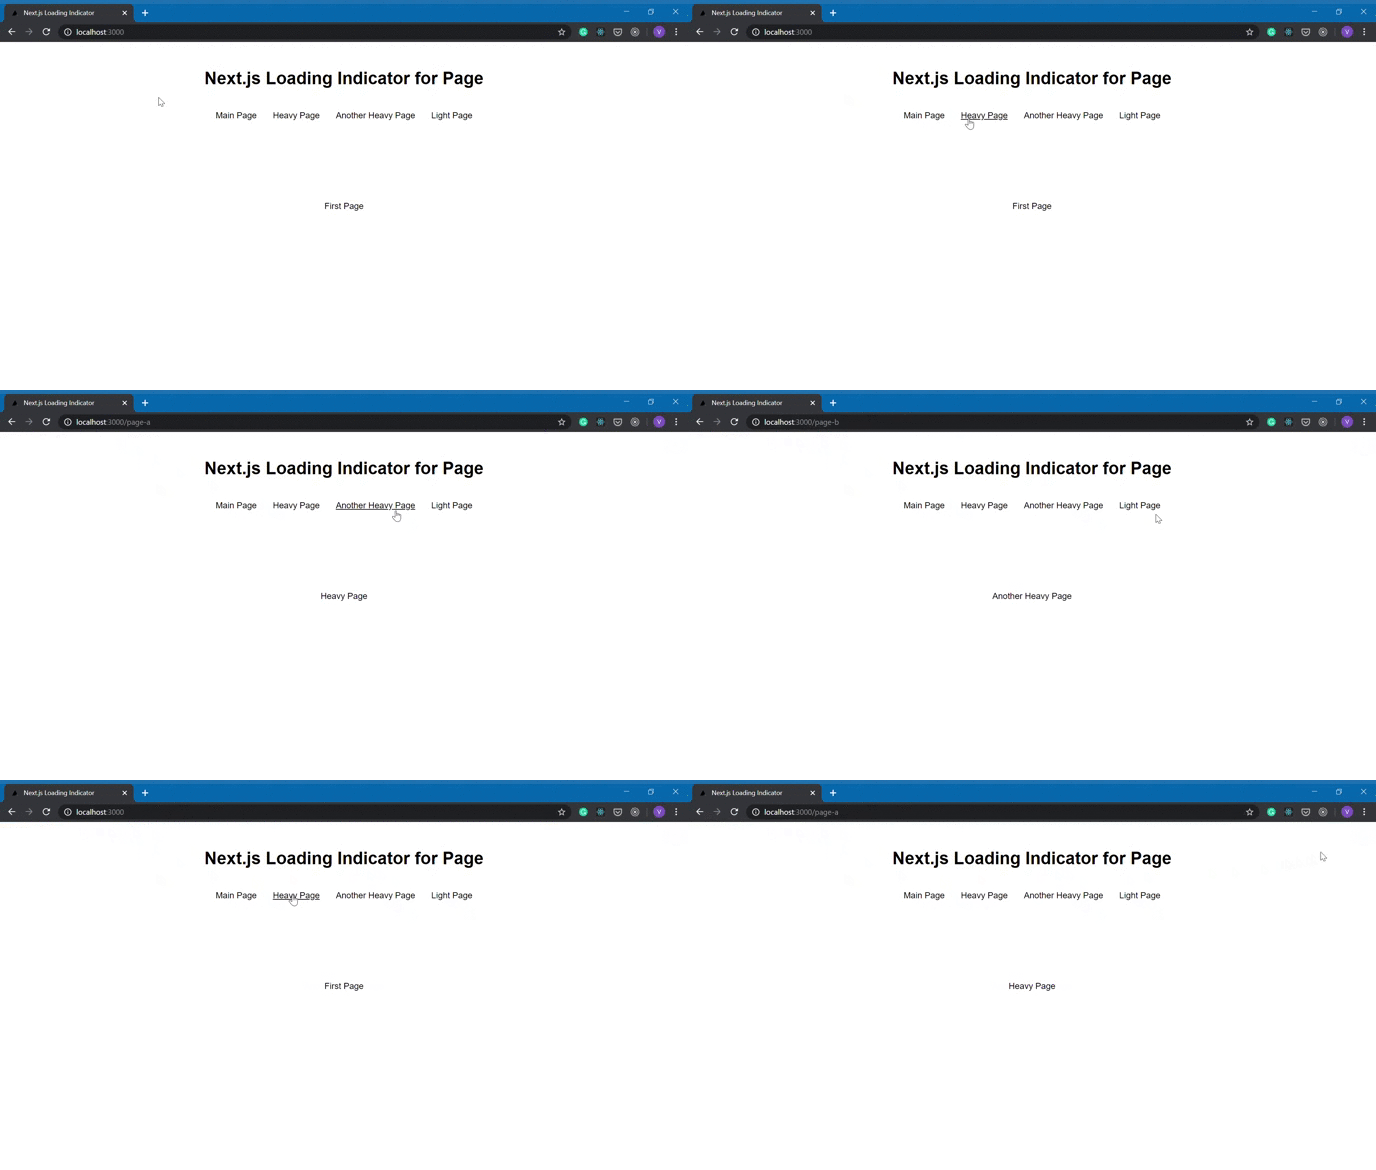
Adding a custom loading indicator solves this problem. Take a look at the same app with added loader.

I suppose you noticed the difference. So let I will show you how to build this nice progress bar
Adding loading indicator to your next.js project
The process is pretty straight forward:
- Install nprogress package
- Bind nprogress animations API to navigation events in next.js Router
Installing nprogress
nprogress is a package that provides an animated progress bar. Install it with one of the folwing commands
npm i nprogress
or
yarn add nprogress
Bind to navigation events
We need to trigger nprogress animation when client-side navigation stars and stop it when navigation completed. We can use events of the built-in Router in next.js to bind them. I bind the events in a custom App component to keep the code organized.
_app.js
import Router from 'next/router';
import NProgress from 'nprogress'; //nprogress module
import 'nprogress/nprogress.css'; //styles of nprogress

//Binding events.
Router.events.on('routeChangeStart', () => NProgress.start()); Router.events.on('routeChangeComplete', () => NProgress.done()); Router.events.on('routeChangeError', () => NProgress.done());

function MyApp({ Component, pageProps }) {
    return <Component {...pageProps} />
}

export default MyApp;
The code above is pretty self-explanatory. Just make sure that the event handler binds outside of components to avoid binding several handlers. CSS works in the latest Next.js v9.3. If you use an older version you need to install a plugin for loading CSS. I recommend using @webdeb/next-styles
That’s it! Several minutes and you improved UX of your Next.js app.
---
Thanks for reading! :)
I am Vova Pilipchatin, a freelance Software Engineer and Web Developer.
If you are enjoyed this article, please follow me on Twitter.
There I share what I learn about developing web apps, launching SaaS projects and building a freelance business :)